Stream Deck Studio Investigation
The Stream Deck Studio is the first Elgato Stream Deck product aimed specifically at broadcast professionals.
The Studio has the same LCD-backed button system as other Stream Decks (if you don’t like the feel of Stream Deck buttons there is no change here) but adds new features to the lineup:
1U Rack mount form factor
PoE power and networked control
Rotary encoders with 360 degree position indicators
RFID reader
The Stream Deck Studio is specifically marketed to work with the new app from Bitfocus: Bitfocus Buttons. The app is currently in early beta and requires a paid subscription.
Companion, the open source predecessor to Buttons, is also compatible with the Stream Deck Studio. It is of note that this is not mentioned anywhere on the packaging or hardware. Buttons is currently in early beta.
Nearly all of Stream Deck Studio’s features are supported in Companion, missing only the encoder position indicators.
Stream Deck Studio does not host its own Buttons or Companion server. It connects to external servers by network or USB.
Packaging
Elgato has transitioned to plastic-free recyclable packaging for its newer products, including the Stream Deck Mini and Neo. The Studio continues the trend, and it looks great. The screws and rack ears come in little paper bags.
Powering Up
We booted up our Stream Deck Studio by connecting its USB-C power delivery port to a power brick. If no USB data connection or Ethernet connection is detected, you get a lovely colorful welcome screen.
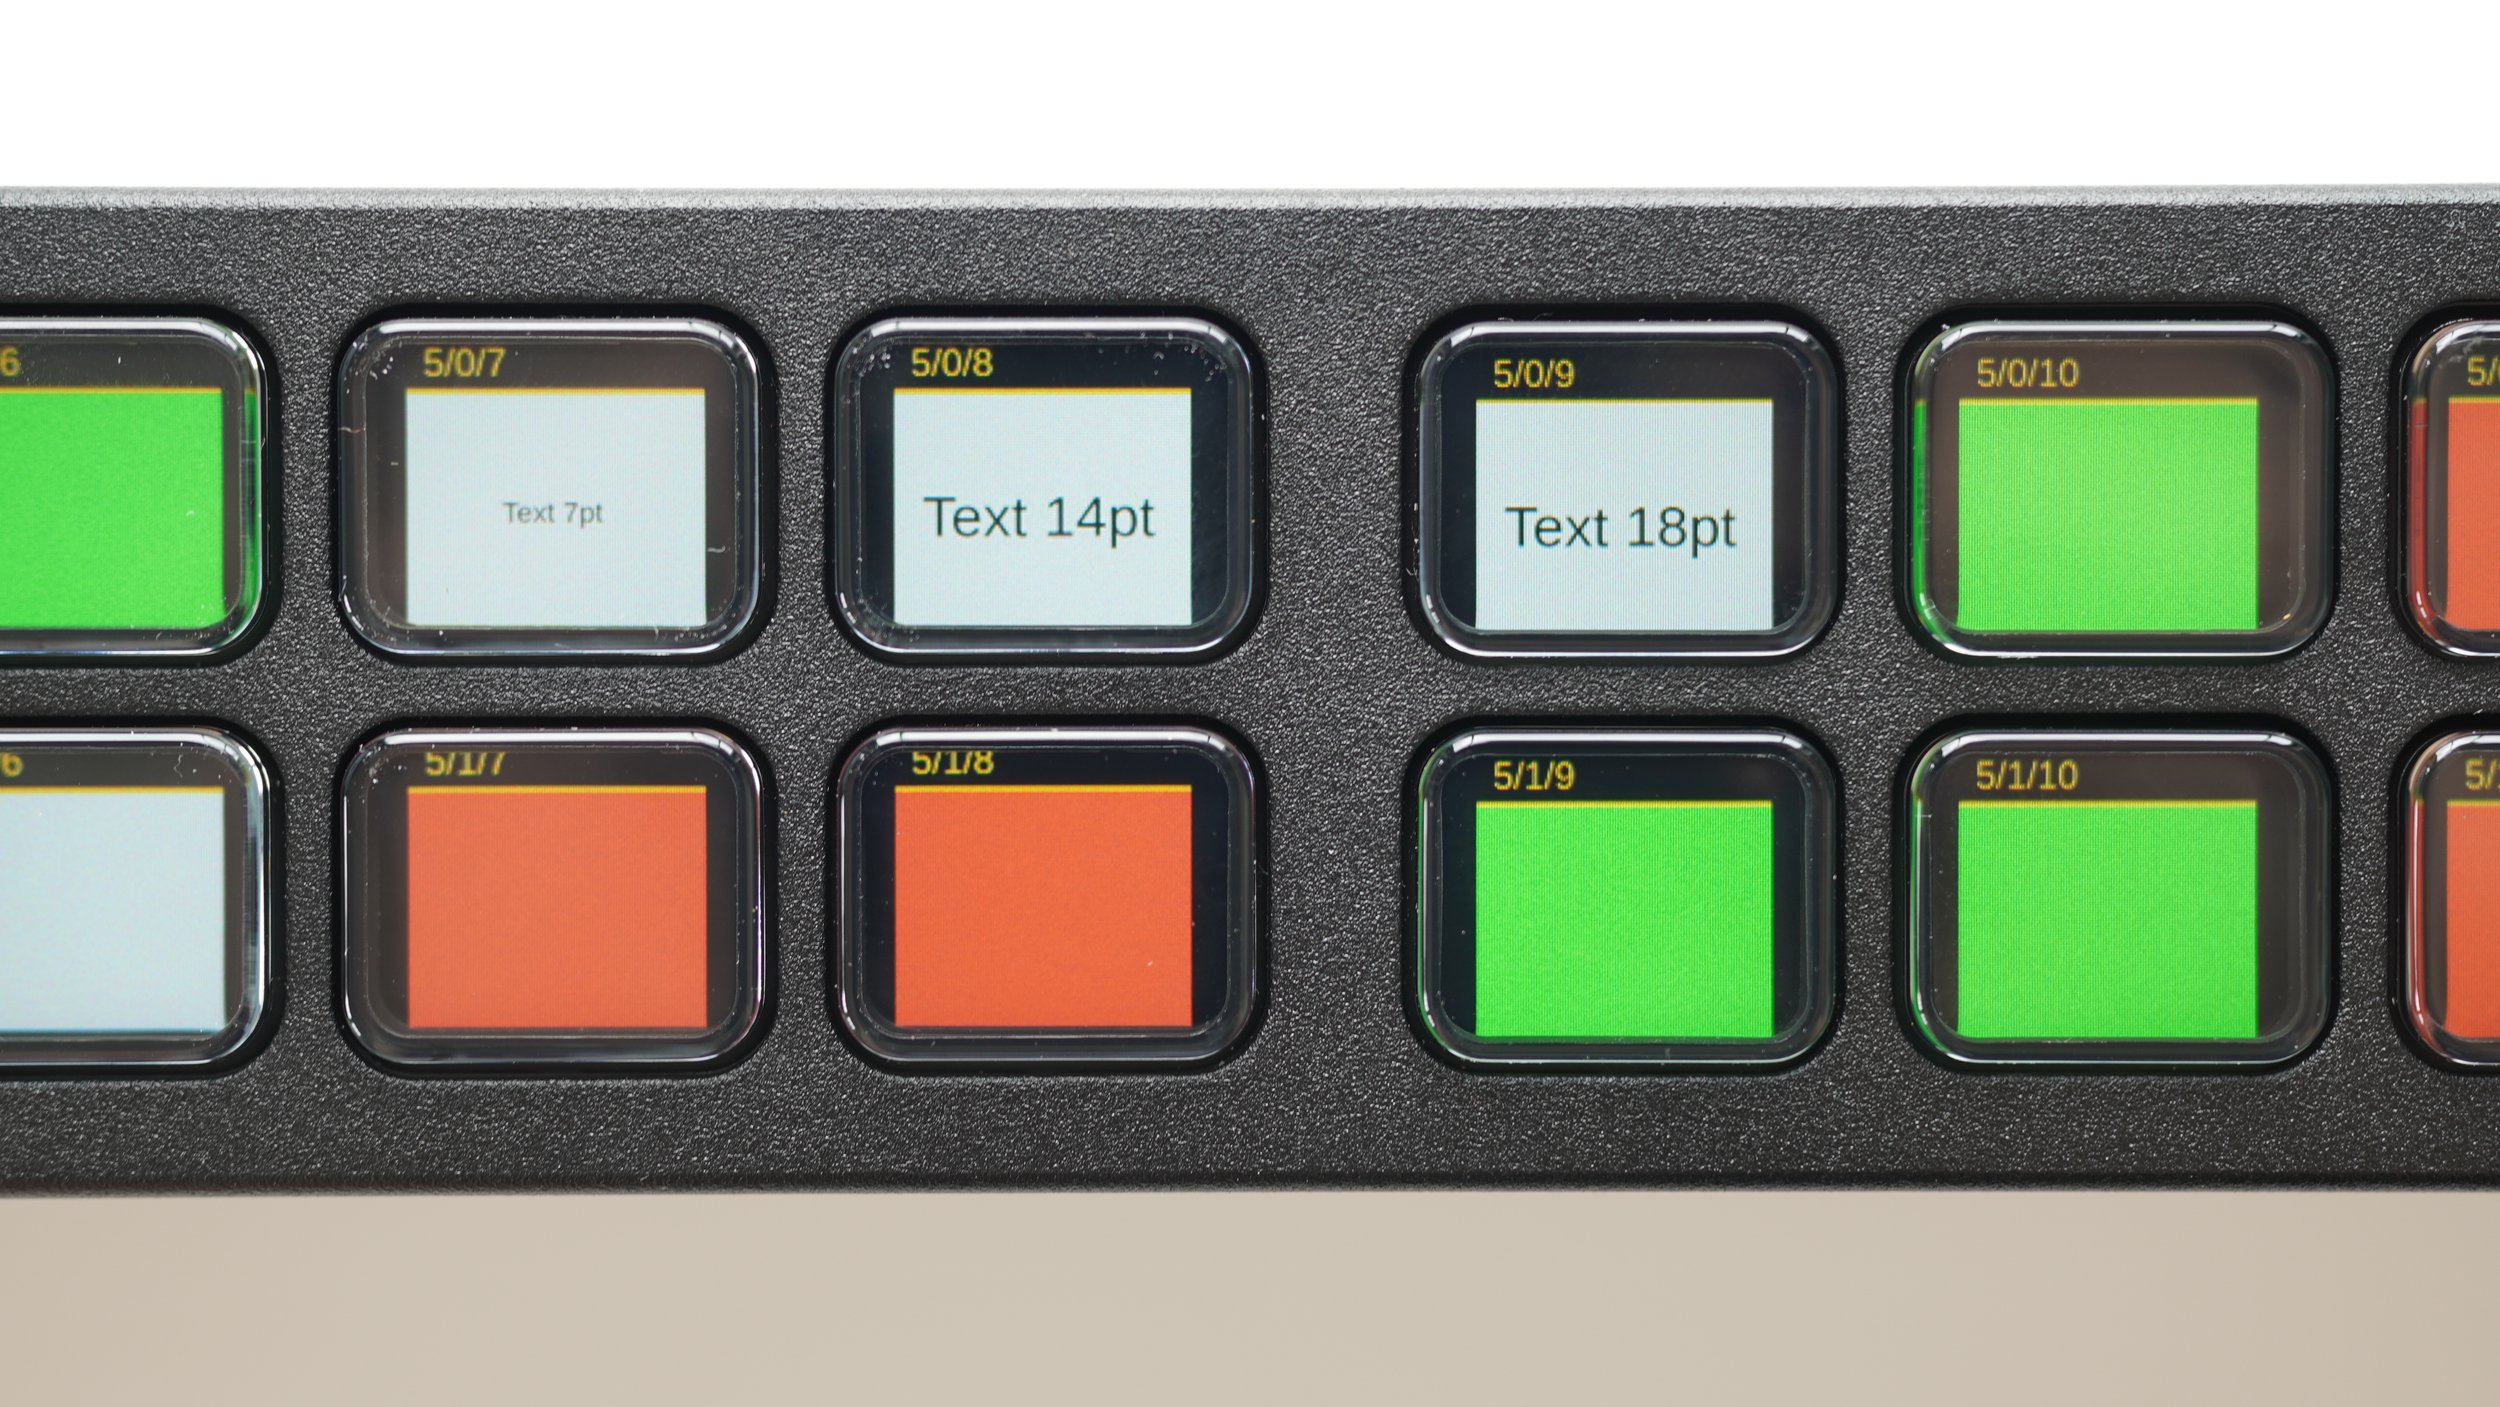
The Studio’s buttons measure 15mm x 18.5mm. For comparison, buttons on Stream Deck XL are 16.3mm x 16.3mm. We think this is the first Stream Deck to have rectangular buttons! As of September 2024, Companion pillarboxes its square icons while Buttons uses the full width.
The buttons feel about the same as any other Stream Deck- so if you don’t like the buttons on other Stream Decks, this one is no different.
The display appears to be higher resolution than some other Stream Decks. 7pt text on a Companion button is legible. The encoders have an internal RGB light which takes the button background color from Companion.
Networking
As this is the first Stream Deck with an Ethernet port, let’s explore how to set that up.
When the Stream Deck Studio isn’t connected to a Companion or Buttons host but does have an Ethernet connection, this network configuration UI is displayed. The unit can be toggled between Static and DHCP modes, and individual octets can be adjusted using the encoder. We found this a bit tricky to use, as it’s not clear which buttons do something and which ones just display text, but quickly figured it out.
The unit completely reboots after every network configuration change.
Teardown
The enclosure is entirely 1mm steel and weighs about 2lbs.
Our unit is about 1.765 inches tall, so you might have trouble fitting it between other slightly oversized devices. Most rack mount devices out there are slightly undersized.
There’s two kinds of screws on the exterior- (28) T6 screws around the main circumference and an additional (8) T5 screws on the bump-out part with connectors. The T5 screws can be ignored for now.
Some of the T6 screws hold the two halves of the enclosure together, and some hold the inner display modules in place.
Remove (8) total T6 screws from these positions on the top and bottom faces. Remove the (4) T6 screws from the back face. Do not remove any other screws.
It is commendable that all of these screws use one size of driver and are the same length. However, removing additional screws beyond those (12) can make the device harder to take apart.
(Also, it’s neat that they laser the unit’s unique MAC and Serial right onto the enclosure!)
We can see that the “bump-out” section at the back of the enclosure is largely empty space. A small SBC could be added in that space to make a standalone device, removing the requirement for an external Companion server.
Brains
Main processor is a Generalplus GPA7740A. It’s a ARM Cortex-A7 with a ton of I/O and, critically, the ability to drive two displays. More on those later.
PoE (Power Over Ethernet)
We can see that the PoE and protection circuitry are split between the main board and the Ethernet connector in the rear section. This is a very component-intensive PoE implementation. The PoE inductor is centered on the main board, with a Murata DC DC converter next to it. This converter turns the PoE voltage (up to 57VDC) into 5VDC.
Since the DC DC converter is on the main PCB, all PoE power must carry across the flexible PCB connecting the Ethernet board to the main board. We’re surprised this works!
Encoder Modules
The left and right encoders are identical (not mirrored) and are separate modules from the main board. Their assembly includes a tapped metal plate that the rack ears screw into. Silkscreen labels suggest they talk to the main board via a serial connection with possibly a pin reserved for an interrupt.
The encoders themselves are likely Bourns PEL12T-4225S-S1024 or similar. The encoder is surrounded by a 24-segment LED ring. Another Generalplus component, a GPM8F3496A, is also on board.
RFID
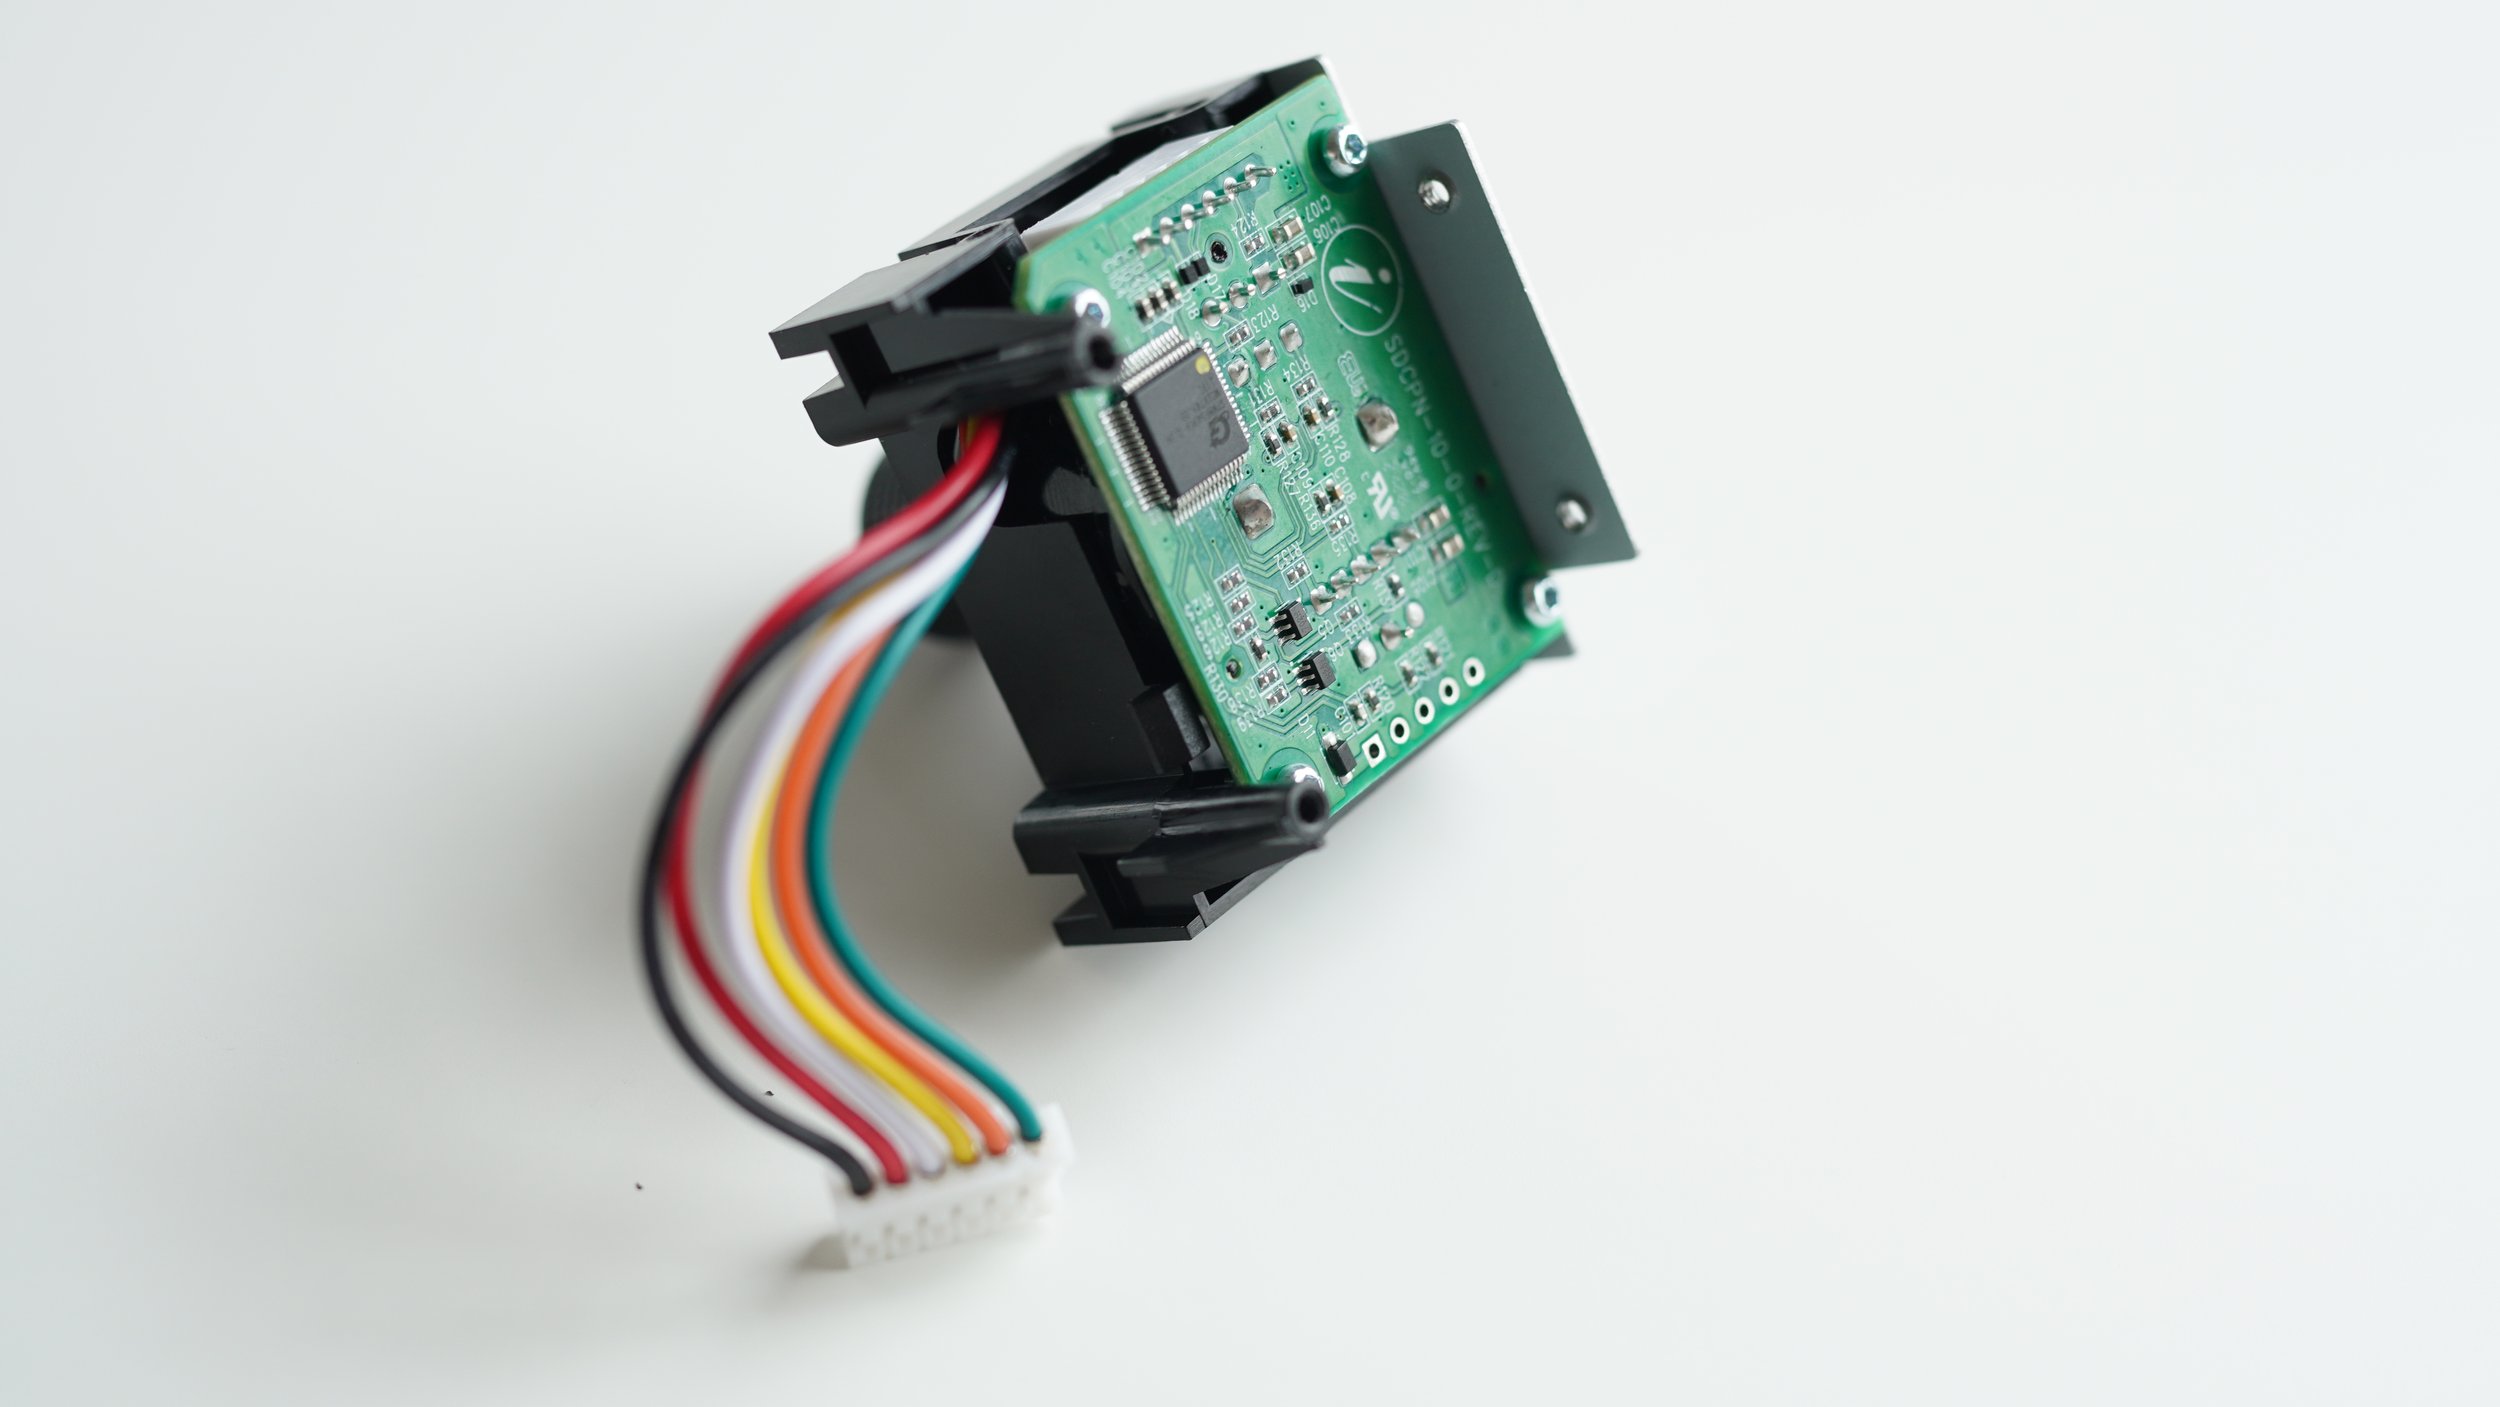
The small PCB with colorful wires going into its top and bottom is the RFID controller. It’s a Derkiot DK26ME, which also talks to the main board via a UART connection.
Companion copies the ID of the last read RFID tag into a custom variable.
PCB Labels
All PCBs in the Stream Deck Studio have a part number prefixed with SDCPN. Perhaps “Stream Deck Companion” was an early name for the product before the Buttons rebrand?
Displays
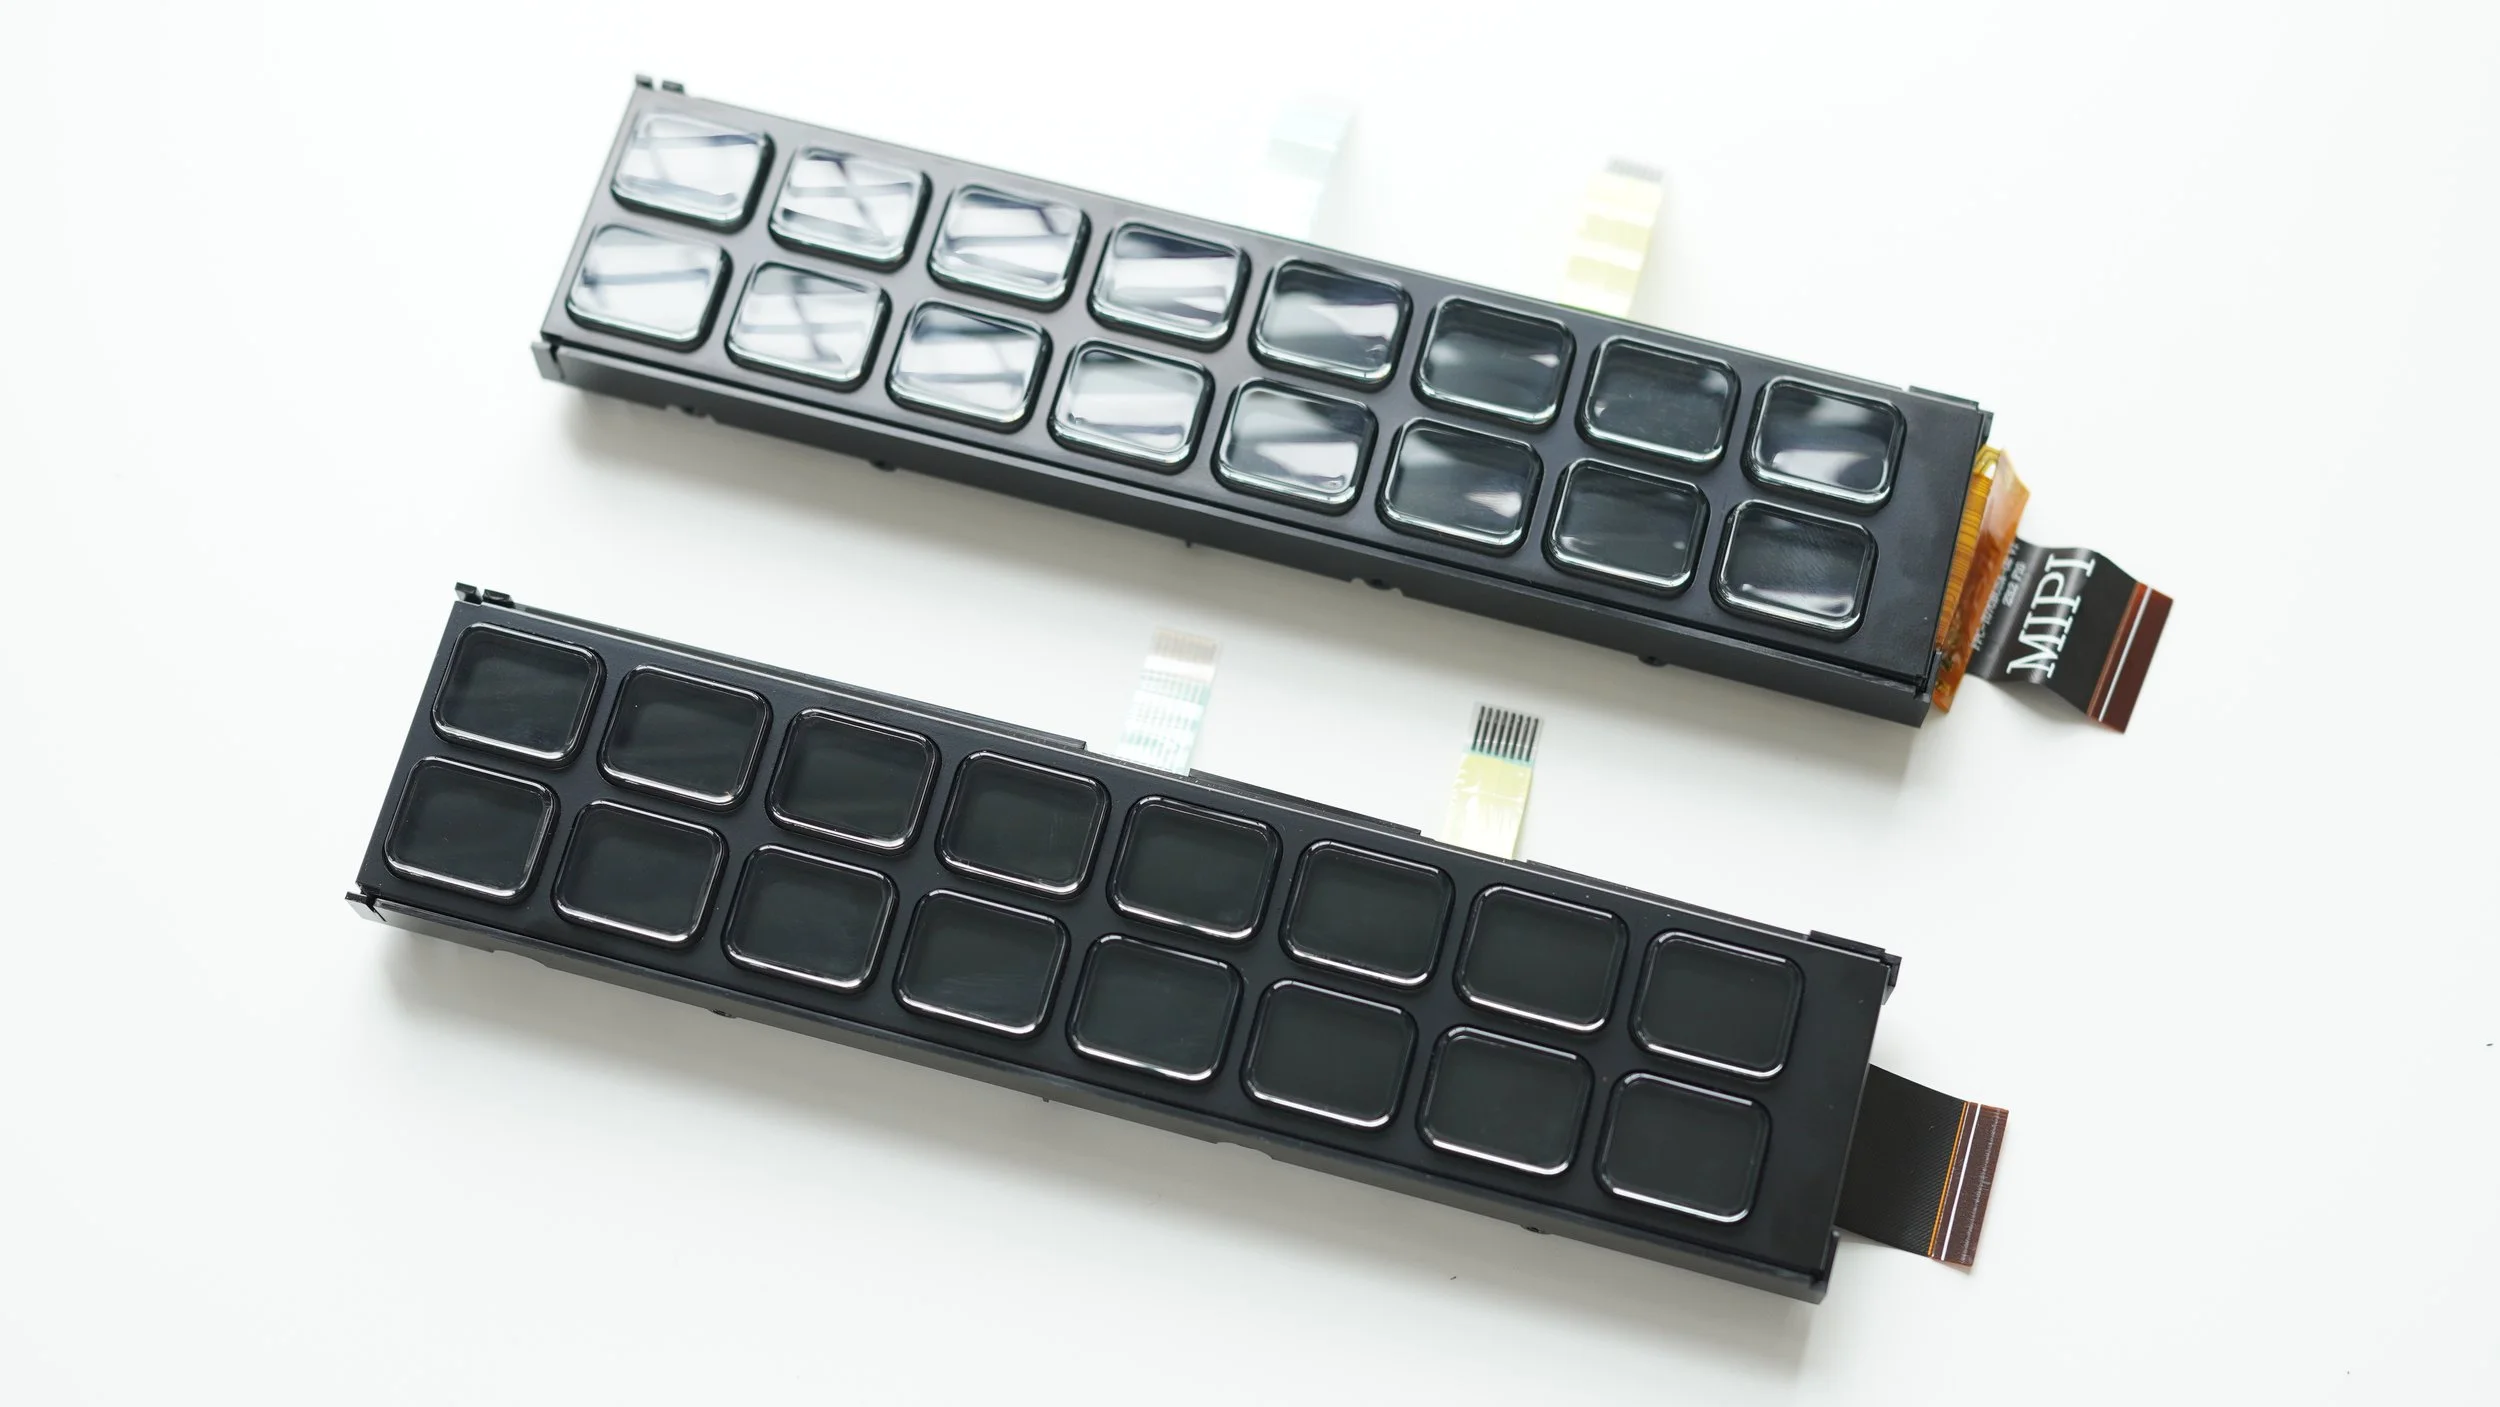
After disconnecting the display wires, two labels are visible. The two labels- “MIPI” and “RGB” are both methods of communicating with an LCD. Looking at the printing on the two display modules, we can confirm that the two LCDs are physically identical but use different protocols and thus cannot be swapped. They appear to be model LBL-T070BUSA-02. It’s very possible they are a custom panel just for this product.
Taking apart the button modules (combined display and button unit) is of little benefit and risks affecting the alignment of the layers, so we recommend leaving them attached to the main PCB.
USB-C Power
The large stack of thermal pads on the USB-C Power PCB suggests the 5VDC conversion is all on that board. The main board selects between its two power inputs: 5V (converted USB-C) and 5V (converted PoE).
Reset Button
No other Stream Deck has one! The manual says “To restore factory settings, press and hold the reset button while powering on the device.” So, there ya go. Network settings can be configured from the buttons so we’re not totally sure when this would be useful.


